Alright already! What’s it gonna take for someone to get frank with the basics? You’re in the right place. First, I’ll tell you how to avoid death, fire, and bodily injury. Next, I’ll cover the simple basics, and lastly you’ll have the steps needed to print your first thingy. *I must state, I take no responsibility for anything that goes wrong here, liability is not my responsibility, so please take caution*
To avoid death, injury, fire, and property damage:
Know the voltage coming out of your wall outlets. In the amazing and crazy USA, our standard AC voltage is 110-120V at 60Hz. Other countries have 220-240V at 50Hz. If you FAIL TO SET THE FUSE SWITCH TO THE CORRECT VOLTAGE, may you and your property rest in peace, or shall I say, pieces? Hah! No seriously, don’t plug anything in until you’ve read this entire post and understand each step fully.
Ensure the cables are plugged in properly, secured from touching hot things or tied up from being snagged on moving parts, the switches are functional and lined up properly, and nothing wobbles, is crooked or off-balance. If so, use a square or level, and fix it.
Do understand your filament size(1.75mm, 2.85mm, etc.), filament type (ABS, PLA, etc.), and 3D printer version, brand, board and driver info, and print bed dimensions (x,y & z axis). (You’ll need this later for the slicer software setup)
Keep body parts away from all 3D printer parts at all times when device is plugged in, especially when it’s operating.
The Simple Basics:
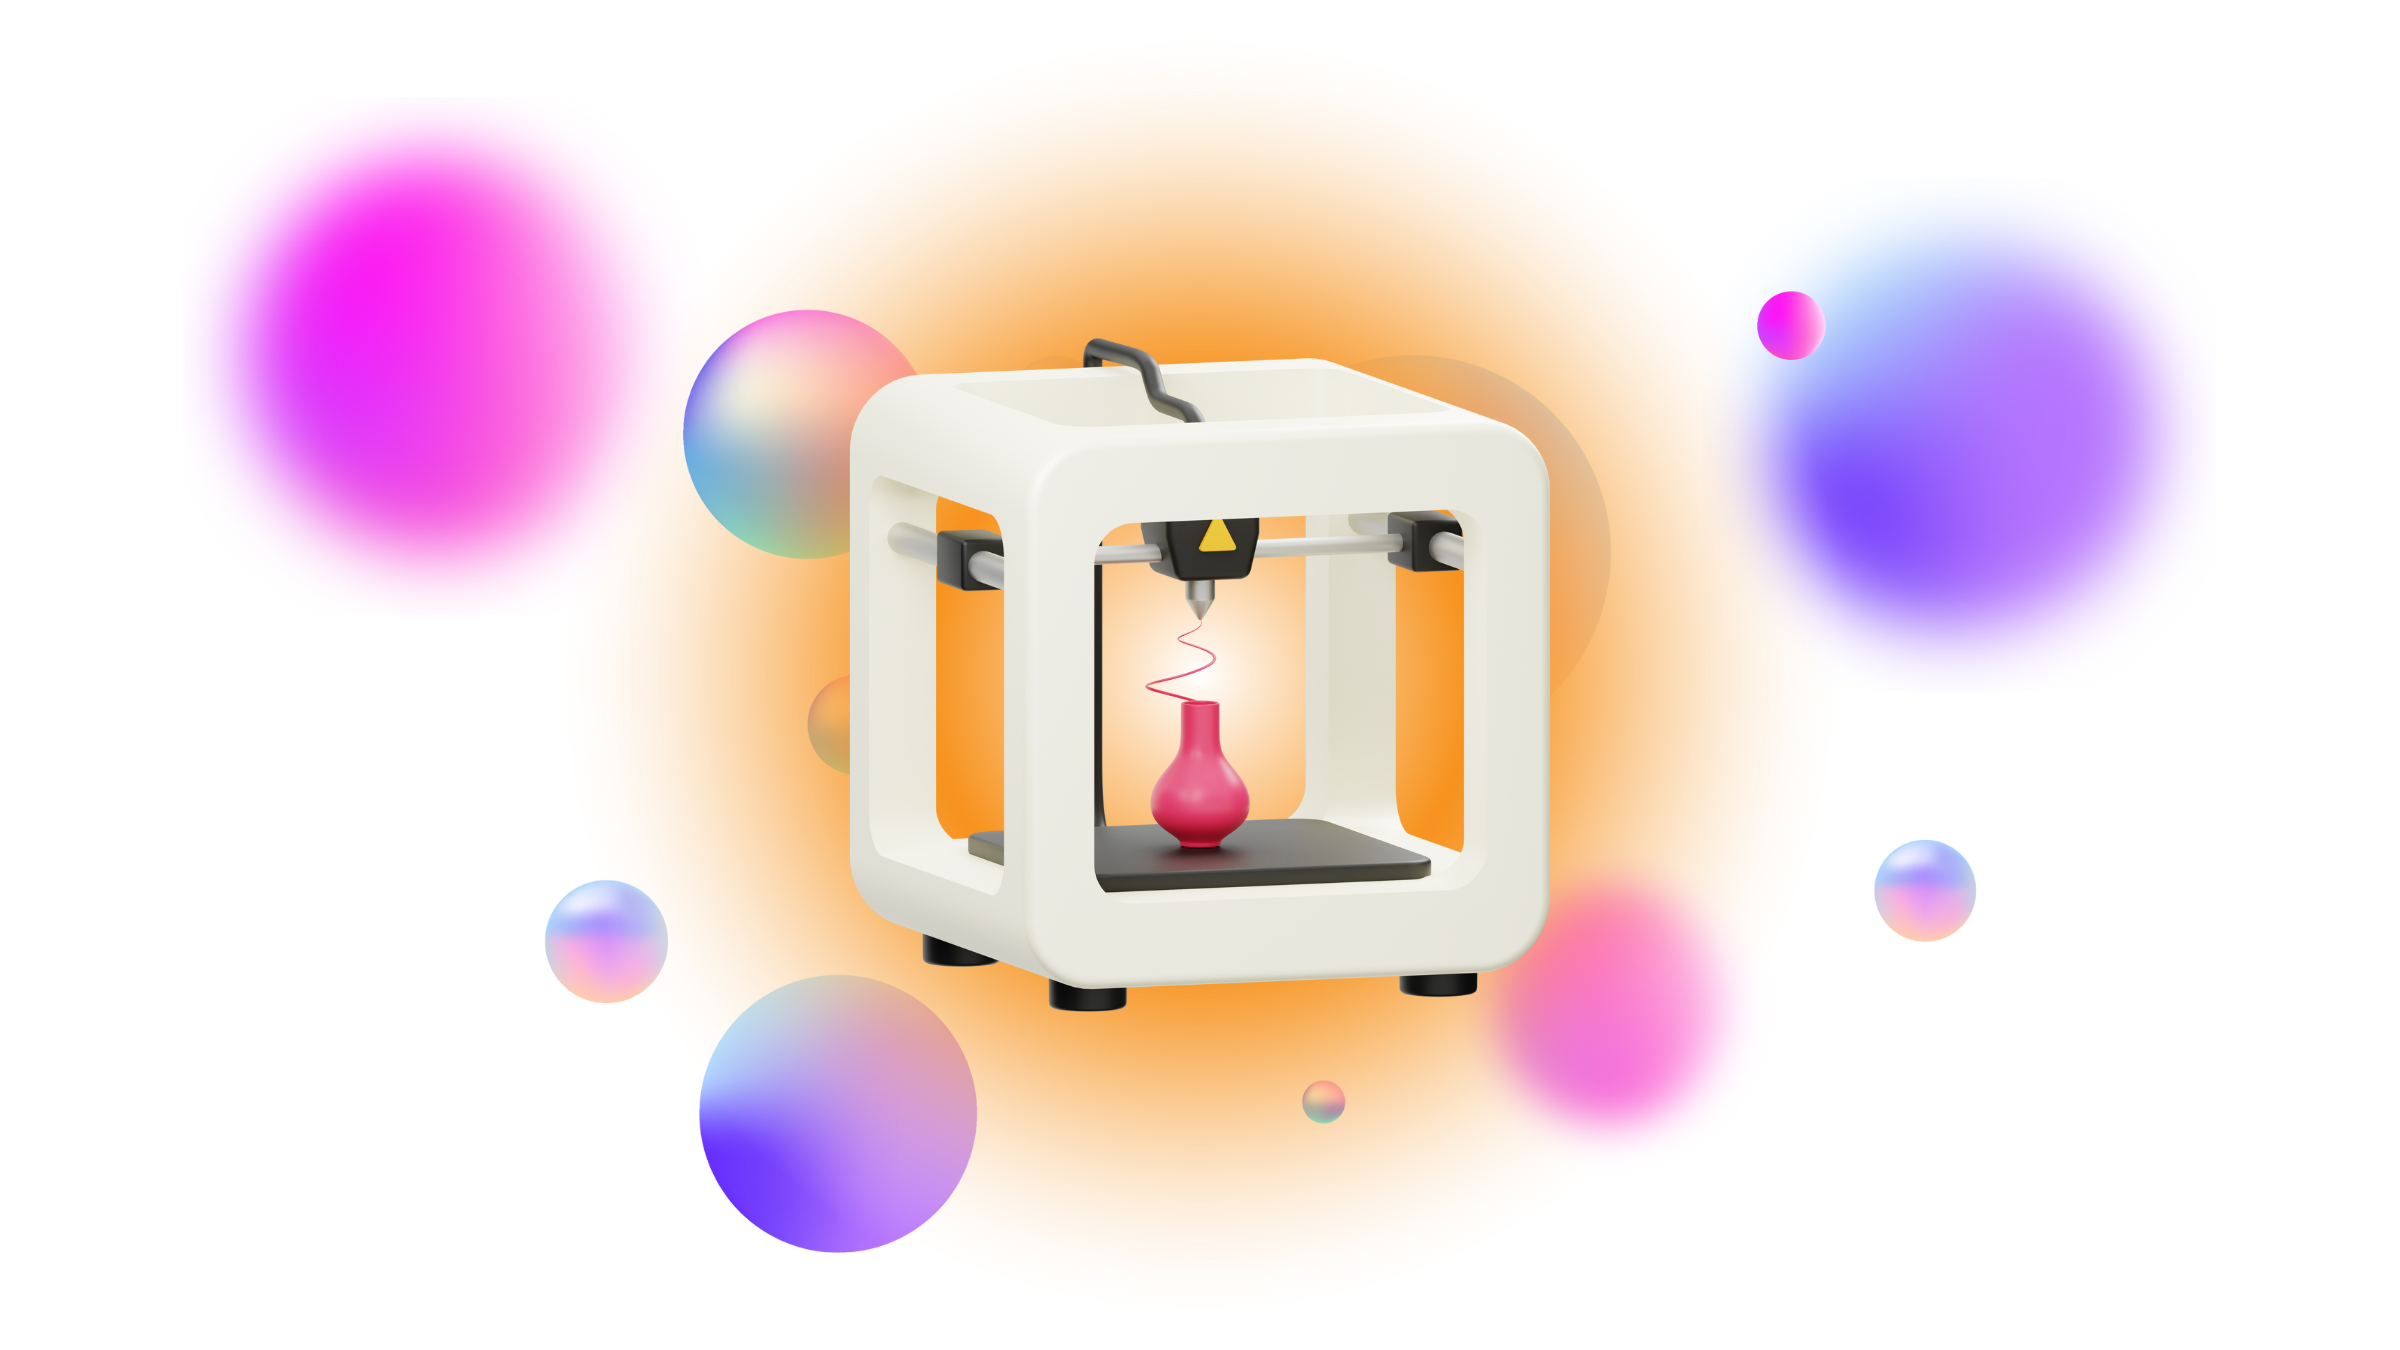
Know basic terminology: filament, bed, nozzle, xyz axis, etc. and familiarize yourself with the printer settings. Most printers will use Marlin Firmware for their “software” if you will [it’s totally firmware, not software, firmware controls hardware, software runs atop firmware but no time for literals now] it’s just the code or “operating system” for the buttons and do-dads of the printer’s hardware, it’s what gives the printer instructions on what, when, where and how to do something. I’ve posted a video on how to update this firmware here. Sometimes, printers are complete wack out of the box, so updating your firmware is the best start -it sure was in my case!
Level the bed. Ah, the bed. One of the most questioned things on 3D printing. Look, don’t stress, it’s just literally moving either by hand with the printer off & unplugged, or with it on and using the knobs to navigate the nozzle, in order to make the nozzle the same height or distance from the bed in all places of the bed. Just start with 4 corners, make the nozzle about 1.2mm above the bed, sliding the nozzle with your hands while the printer is unplugged to each corner, adjusting the knobs under the bed as needed. There’s seriously no need to have the printer on or plugged in for this, as once you level it, it says level pretty much until you bump it or move the entire printer to a different location.
I’ve found using the “paper” test and all these others to be too close, and can lead to clogging of the nozzle, and digging into / scratching the bed’s plastic mat, so eye-balled at a distance of about the thickness of the filament itself as it comes out of the nozzle, that’s roughly between 0.8mm and 1.5mm, but could be more or less depending on your specific specs. (the quality / thickness of the filament coming out of the nozzle while printing is determined at the slicer stage, where the filament layers can be either 0.2mm in thickness for super fine quality, or 1.2 or higher for standard quality with thicker, more noticeable layers.) For either quality of prints, I’ve found the happy spot of the nozzle distance from the bed to be about 1.2mm.
Hair spray! Treseme level 4, to be precise. This stuff sounds crazy and sketchy, but it’s really catchy! Literally, spray this on your hot printer bed, don’t worry, (mine hasn’t caught fire in the years I’ve done this) the results are amazing. This takes a load off testing and refining the bed temps for perfect stickiness… don’t worry too much on that, this knowledge will develop naturally with more practice. And yes, the hairspray washes off if it leaves any residue on the bottom of your prints.
The Final Stage: Print Your Thingy!
Play around with tinkerCAD, an online tool for building your own 3D object or nick-nack, and ensure what you create is within the dimensions / bounds of your 3D Printer’s printable space / bed dimensions. You can scale it down in the slicer, of course, but we’ll gt to that next. Don’t make it too tall, keep in mind the z axis limit too! If you don’t want to make something, just download a pre-made object / .obj or .stl file from Thingiverse.
Download Ultimaker Cura slicer software, this takes any object and literally slices it into layers of instructions for the printer to squish molten plastic to. Don’t rush the settings step! Cura slicer need the absolute most updated, accurate info for it to best serve your instructions to the printer, so take extra time researching your printer specs and analyzing, double-checking the tech specs and all for it to be perfect. //Do note: if you happen to scale anything, just know that it may not be dimensionally correct if you’re making a part specific to fit something.
Name the file once it’s sliced, save it to your removable microSD card, and pop that into your printer!


